THE SHORT ANSWER
Start with $10,000. Pick one repeatable team job, bring a kit you can replace three times, and let objective work, revives, spotting, transport or logistics pay for the next deployment.
Why the biggest price tag is not always the upgrade
Weapon damage is attached to ammunition and armor changes the result. Compare standard-ammunition damage, rate of fire, armor reduction and durability, then buy for the range and role you can actually support.
01 / THE CASH LOOP
Make yourself useful before you make yourself expensive.
Official descriptions reward team actions, not only kills. These six routes let a new player build income while learning the map.
Hold the objective
Control Zone play earns cash, and the official game description calls out the Hot Zone as a double-cash opportunity.
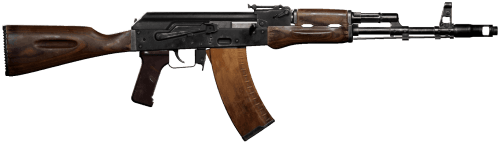
AK74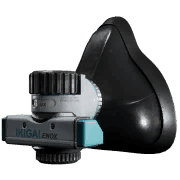
Revive instead of respawning
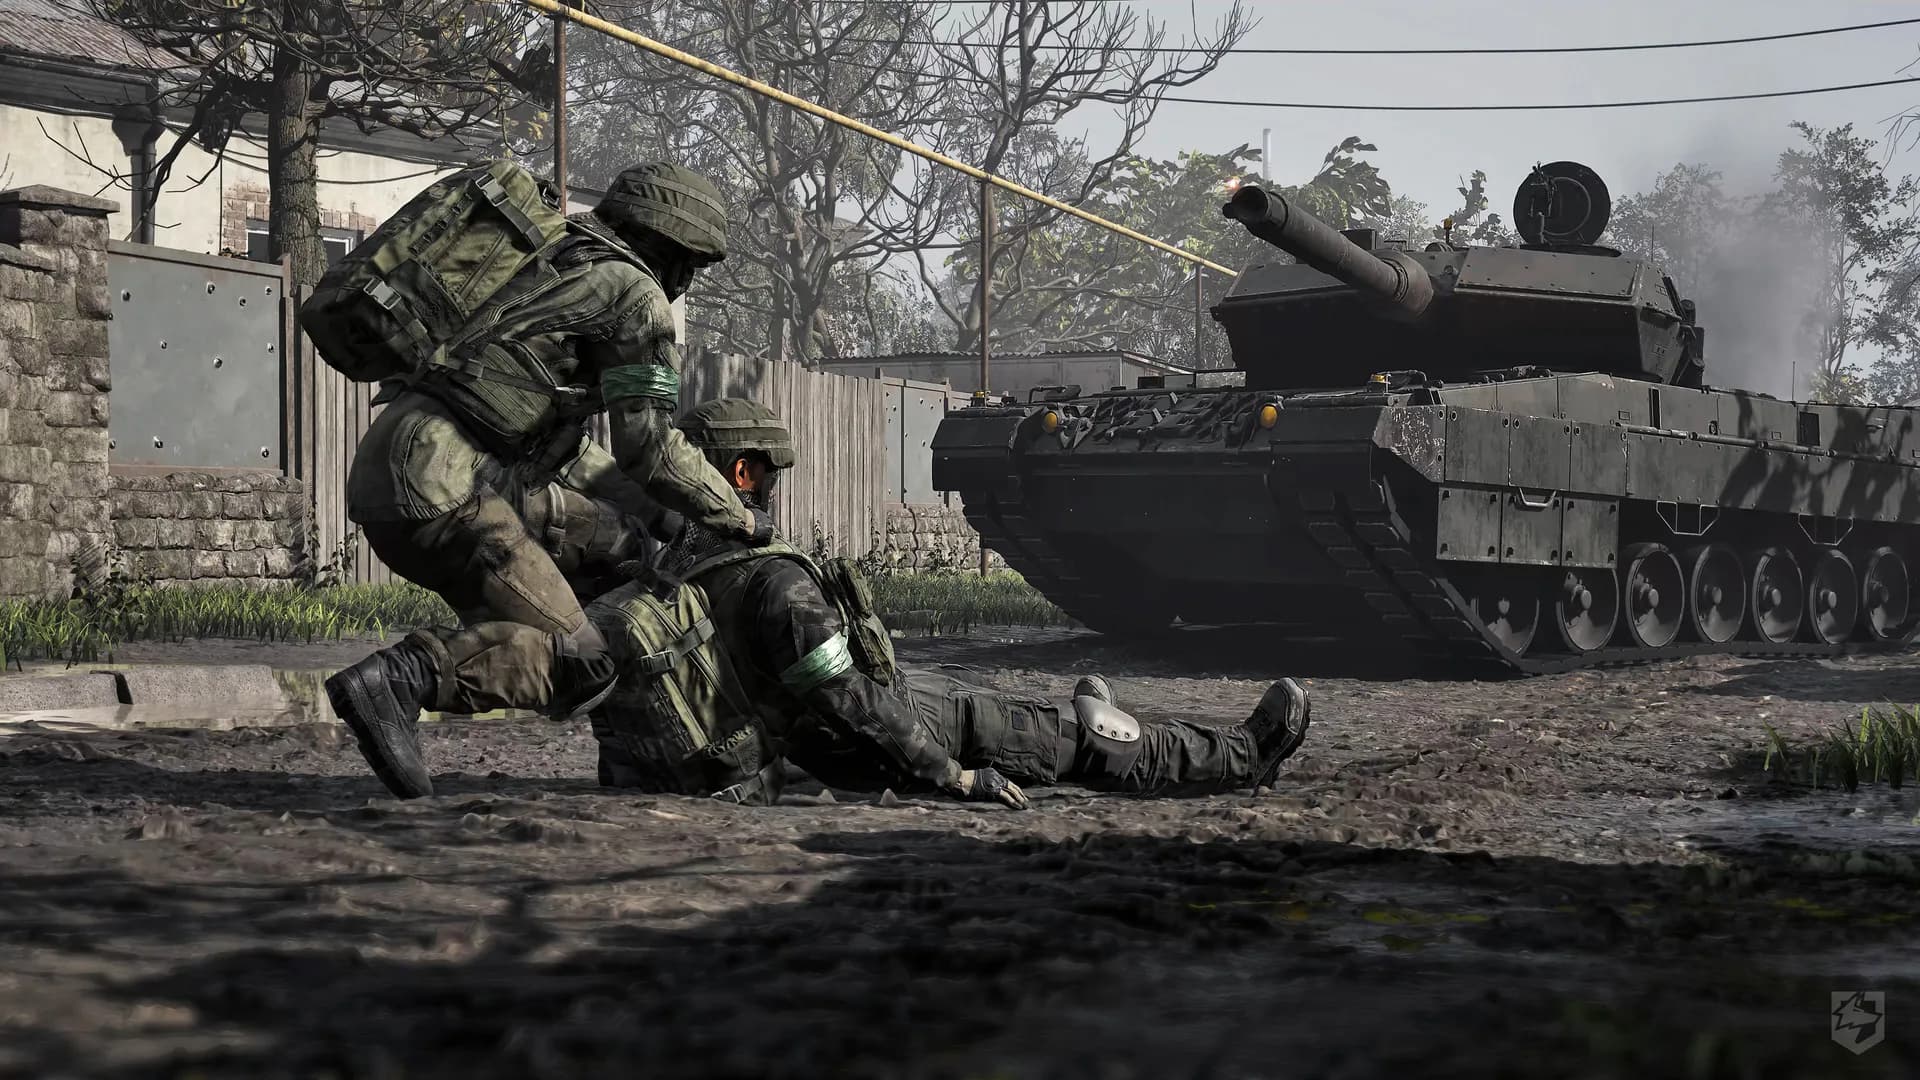
Reviving squadmates is one of the team actions BULKHEAD explicitly says it rewards. It also protects the value of the kit already in play.
Field Resuscitator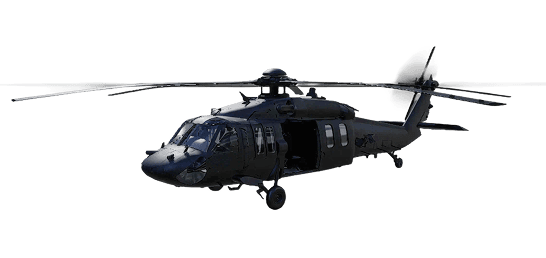
Run transport
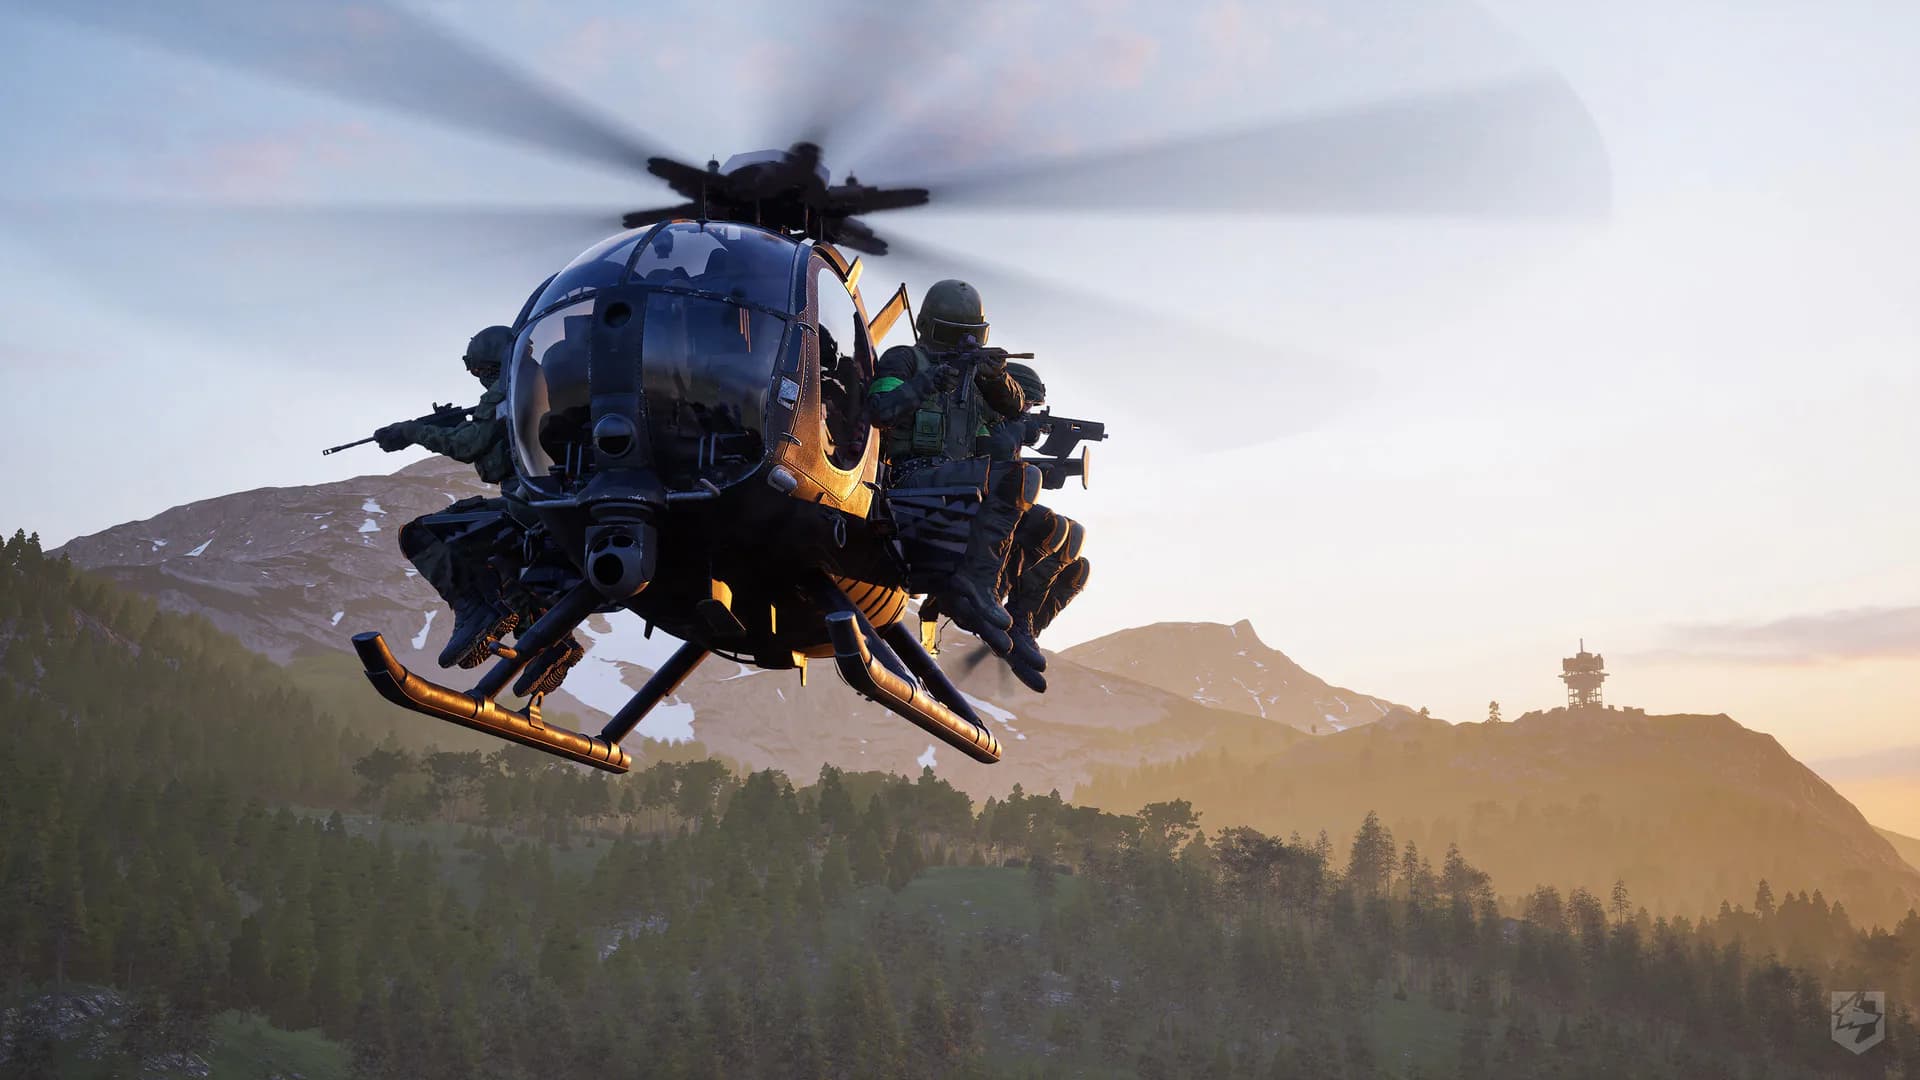
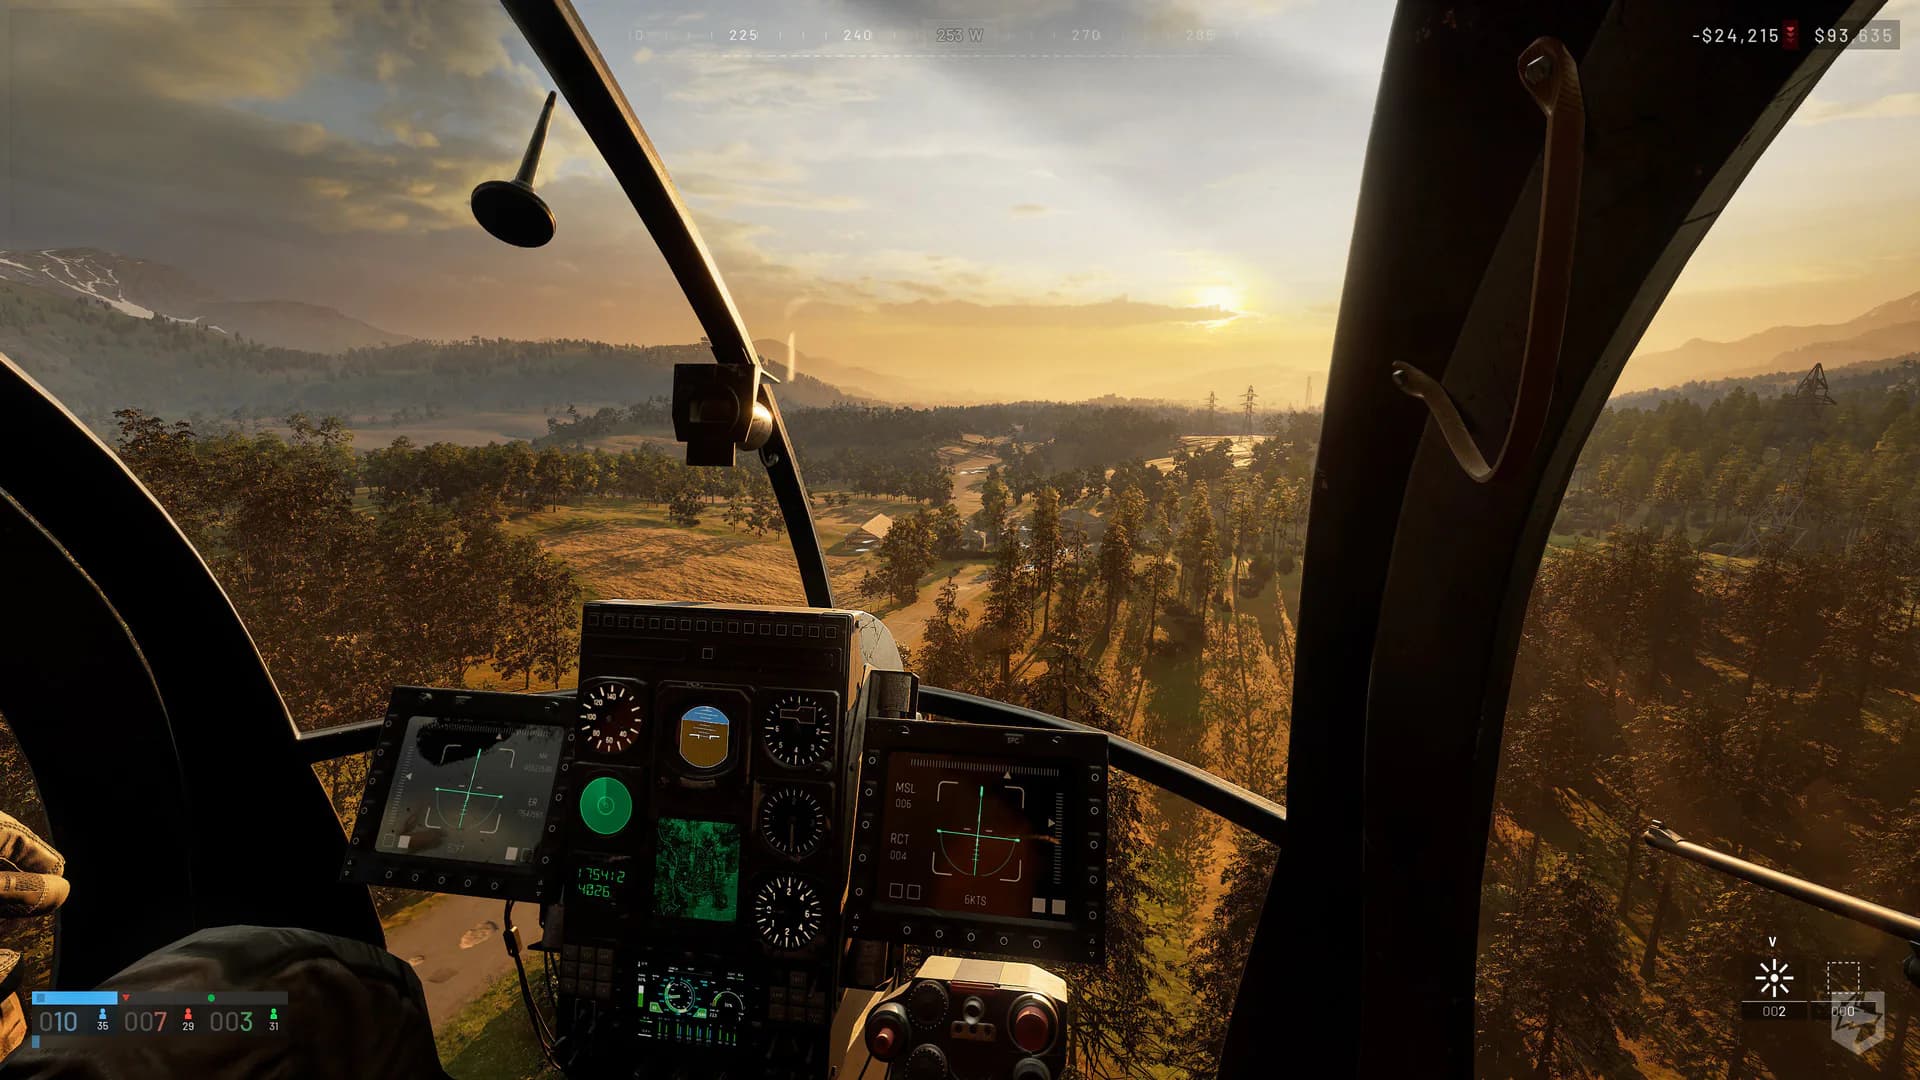
Moving friendlies to the zone pays. A cheap ground shuttle or a full helicopter route can contribute without requiring a high kill count.
Z20 Lakota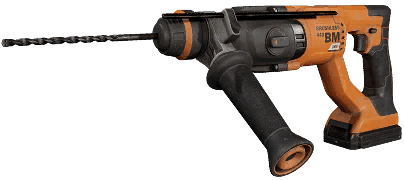
Build and supply
FOB construction and logistics turn travel time into team value. Move supplies, strengthen a useful position, and avoid building where nobody can use it.
Heavy Drill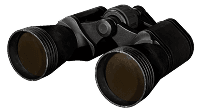
Spot before you shoot
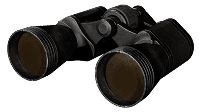
PC Gamer reports binocular spotting as a low-cost way to mark soldiers, vehicles and structures for teammates. Treat the payout as patch-sensitive.
Binoculars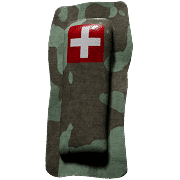
Keep the first kit lean
A reported early-game route is to take the cheapest workable firearm, light protection and only the medical or utility items your role will actually use.
BandagePrice the complete life, not just the gun: firearm, magazines, ammunition, armor, helmet, medical items, utility and transport. If losing it once would empty your wallet, step down a tier.
02 / TACTICAL MAP ROOM
See the teams. Move the battle. Plot the shot.
Each battlefield opens at 150% on its main city or industrial core. Switch to the full map for team approaches, zoom to 300% for street detail, and move the randomized battle area to the Control Zone shown in your current match.
FIELD BRIEFINGBakuraniTerrain, supply and troop-drop notes
Bakurani
Mountain valley, ridges, settlements and a long north–south road corridor. The checked community record marks five towers.
- Supply run
- Use branching roads as the main supply line, then leave the central corridor before the final approach. Put the last leg behind a ridge or terrain fold so one ambush does not stop every truck.
- Troop drop
- Drop one ridge or building cluster short of the fight. Infantry can finish under cover while the driver or pilot turns around instead of parking in the obvious central lane.
The grid conversion and range bands come from community tools, not BULKHEAD. These map calculations do not include terrain-height correction. Keep friendlies clear, observe the first impact and adjust from what the current build actually does.
The five-check route protocol Open field checklist
- Read the live objectiveMatch the map name, current Control Zone and Hot Zone before copying any route from the previous round.
- Confirm the receiverHover the friendly FOB, read what it is short of, and ask for a drop side. A full truck with the wrong cargo is not a useful run.
- Separate the long and short legsUse roads for speed while far from contact, then change to a covered final approach before the predictable choke.
- Drop, clear and turnPlace pallets inside the receiving FOB boundary. Put troops at usable cover, clear the unloading point, and begin the return immediately.
- Do not repeat a compromised lineIf the route is watched, change one major leg or switch transport type. The shortest road is not the best road after it has been identified.
03 / LOADOUTS BY LEVEL
Buy the job your current unlocks can perform.
These bands use the Season 1 progression ladders. They are recommendations, not a claim that one kit wins every fight. Your role level controls specialist unlocks; your wallet controls whether the unlocked item is sensible this life.
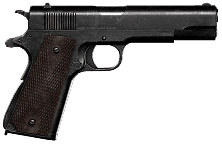
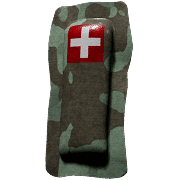
Core kit
Free starter rifle, two spare magazines, loose ammunition, 3–5 bandages and one job tool you can already use.
Role upgrade
Binoculars for Recon progress; Field Resuscitator from Medic 2; Medium Hammer from Support 3; Kodiak Pickup from Driver 2; small armored crate from Pilot 2.
Leave behind
Premium armor, stacked attachments and a personal vehicle before the life has a clear way to repay itself.
Three rules for every loadout Open buying logic
A medic needs safe access to teammates and enough supplies to complete revives. A driver needs a route, passengers and a return plan. A support player needs the right answer to the threat, not every launcher at once.
Cash persists, but your deployed equipment is still at risk. Decide the maximum loss you can absorb for several lives before adding premium optics, larger magazines or top-tier protection.
If you die crossing open ground, a faster weapon may not fix the problem. Spend on transport, smoke, protection or a different route before paying for a marginal fire-rate change.
04 / LEVEL FASTER
Repeat the action your chosen skill rewards.
WARDOGS uses separate Infantry, Medic, Recon, Support, Driver and Pilot tracks. The fastest practical route is sustained role work—not carrying an expensive tool while doing a different job.
 Infantry loop
Infantry
Fight with an Infantry rifle and stay on the scoring objective instead of taking unrelated specialist gear.
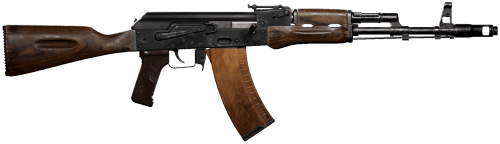
- AK74 · 3
- Galil · 10
- M4 · 20
Season 1 milestone totals are published for selected role levels; intermediate requirements were not listed in the cited table. Community reports say binocular spotting, building, reviving, passenger transport and supply work are repeatable progression loops, but exact action payouts can change.
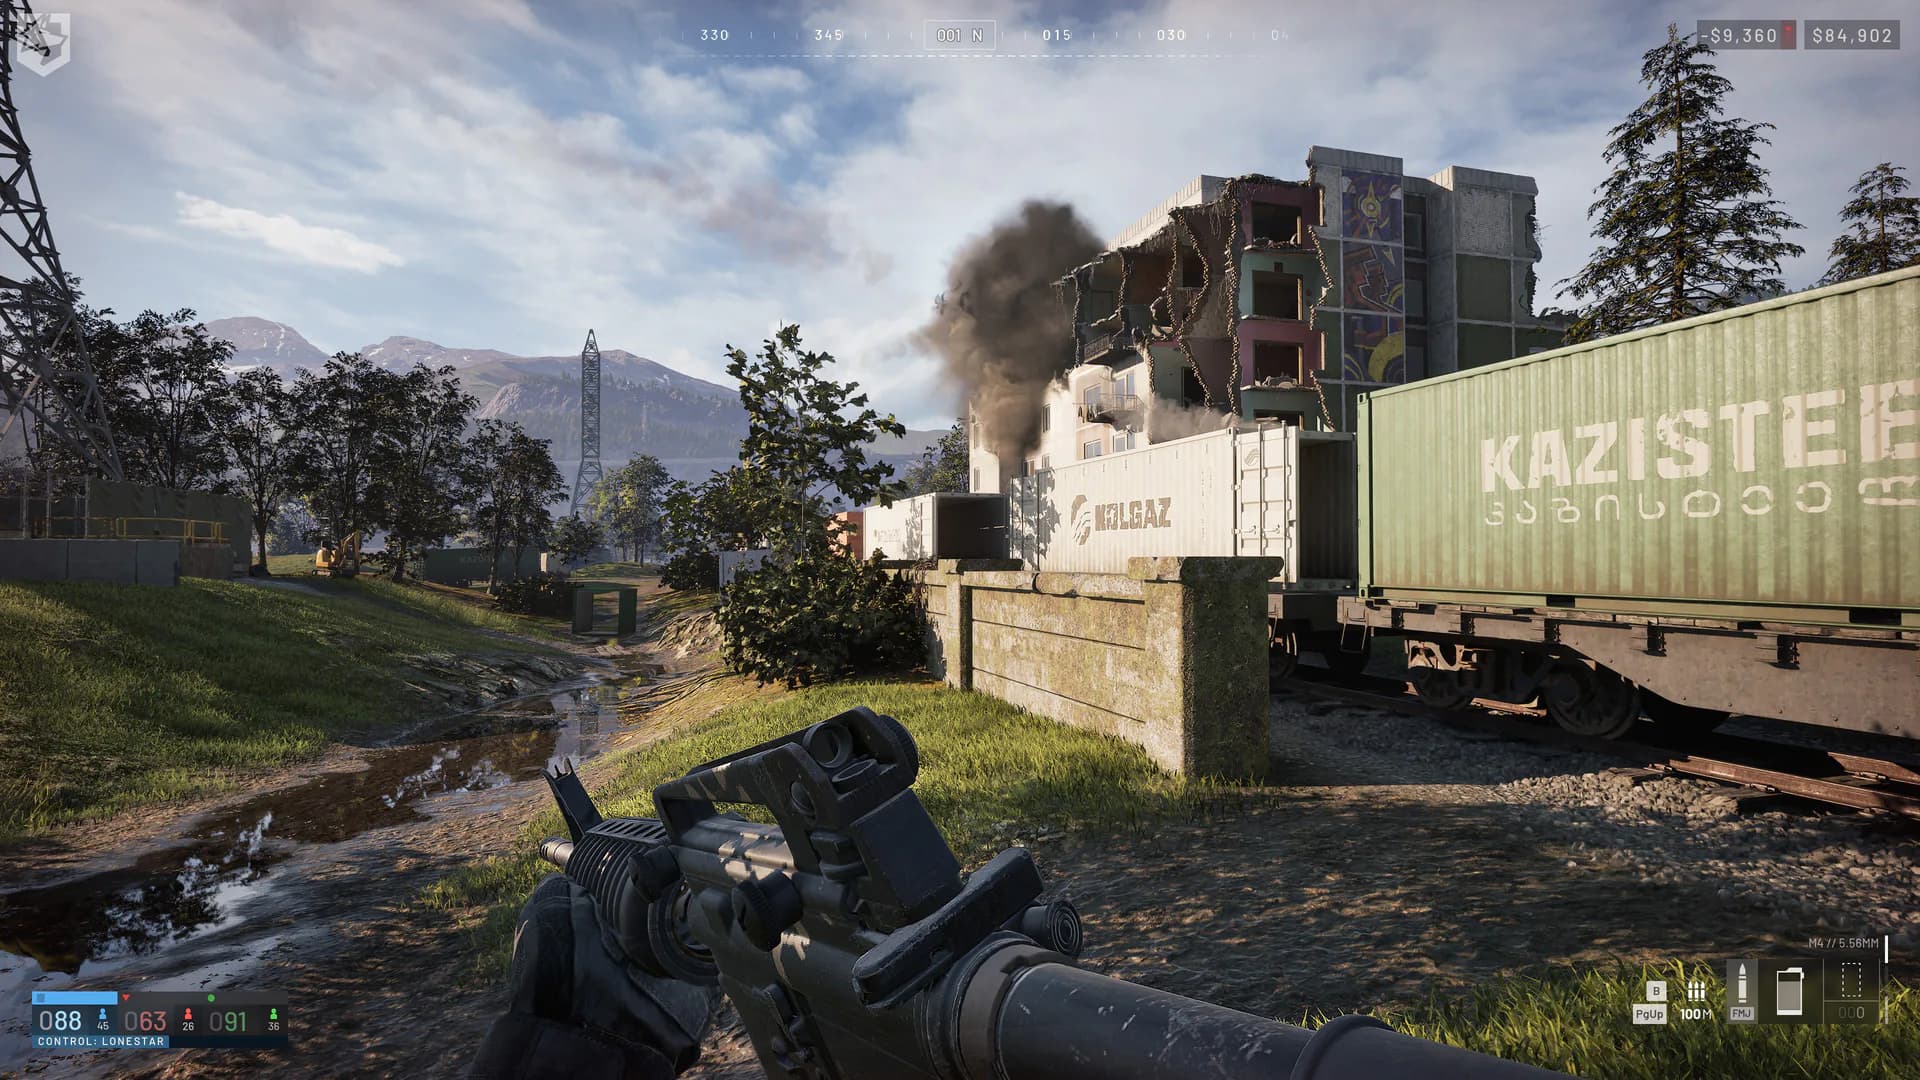
This official screenshot shows a rifle in a destructible battlefield. It does not verify the stat table. Official press-kit screenshot, BULKHEAD / Team17.
05 / WEAPON MATRIX
Compare the ammunition first.
Damage below is the database's zero-meter standard-ammunition baseline. It is not a guaranteed body-shot result after hit location, armor, ammunition modifiers, falloff or pellet spread.
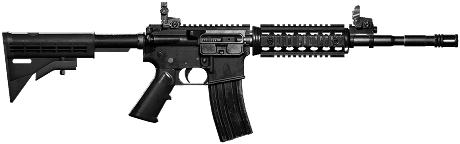
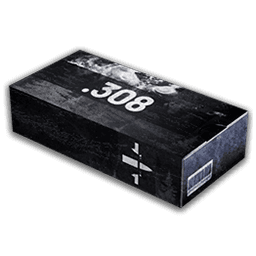

Showing 8 of 34 weapons.
| Weapon | Type | Caliber | Base damage | RPM | Range | Life price |
|---|---|---|---|---|---|---|
| A-91 | Assault rifle | 5.56x45mm | 28 | 700 | 300 m | $0 |
| Bushmaster M17S | Assault rifle | 5.56x45mm | 28 | 700 | 300 m | $0 |
| KH-2002 | Assault rifle | 5.56x45mm | 28 | 700 | 300 m | $0 |
| T-21 | Assault rifle | 5.56x45mm | 28 | 750 | 550 m | $600 |
| AK74 | Assault rifle | 5.45x39mm | 26 | 650 | 500 m | $1,600 |
| Galil | Assault rifle | 5.56x45mm | 28 | 650 | 400 m | $2,200 |
| M4 | Assault rifle | 5.56x45mm | 28 | 800 | 500 m | $2,800 |
| FAL | Assault rifle | .308 Win | 60 | 650 | 800 m | $6,500 |
Damage is not time-to-kill. Standard 5.56 shows 28 base damage, but the M4's 800 RPM changes its theoretical output relative to a 650 RPM Galil. Armor, distance and hit location still decide the real result.
A dash is not zero. Launchers display “Not recorded” where the current source has no dependable damage value. That avoids turning missing data into a fake statistic.
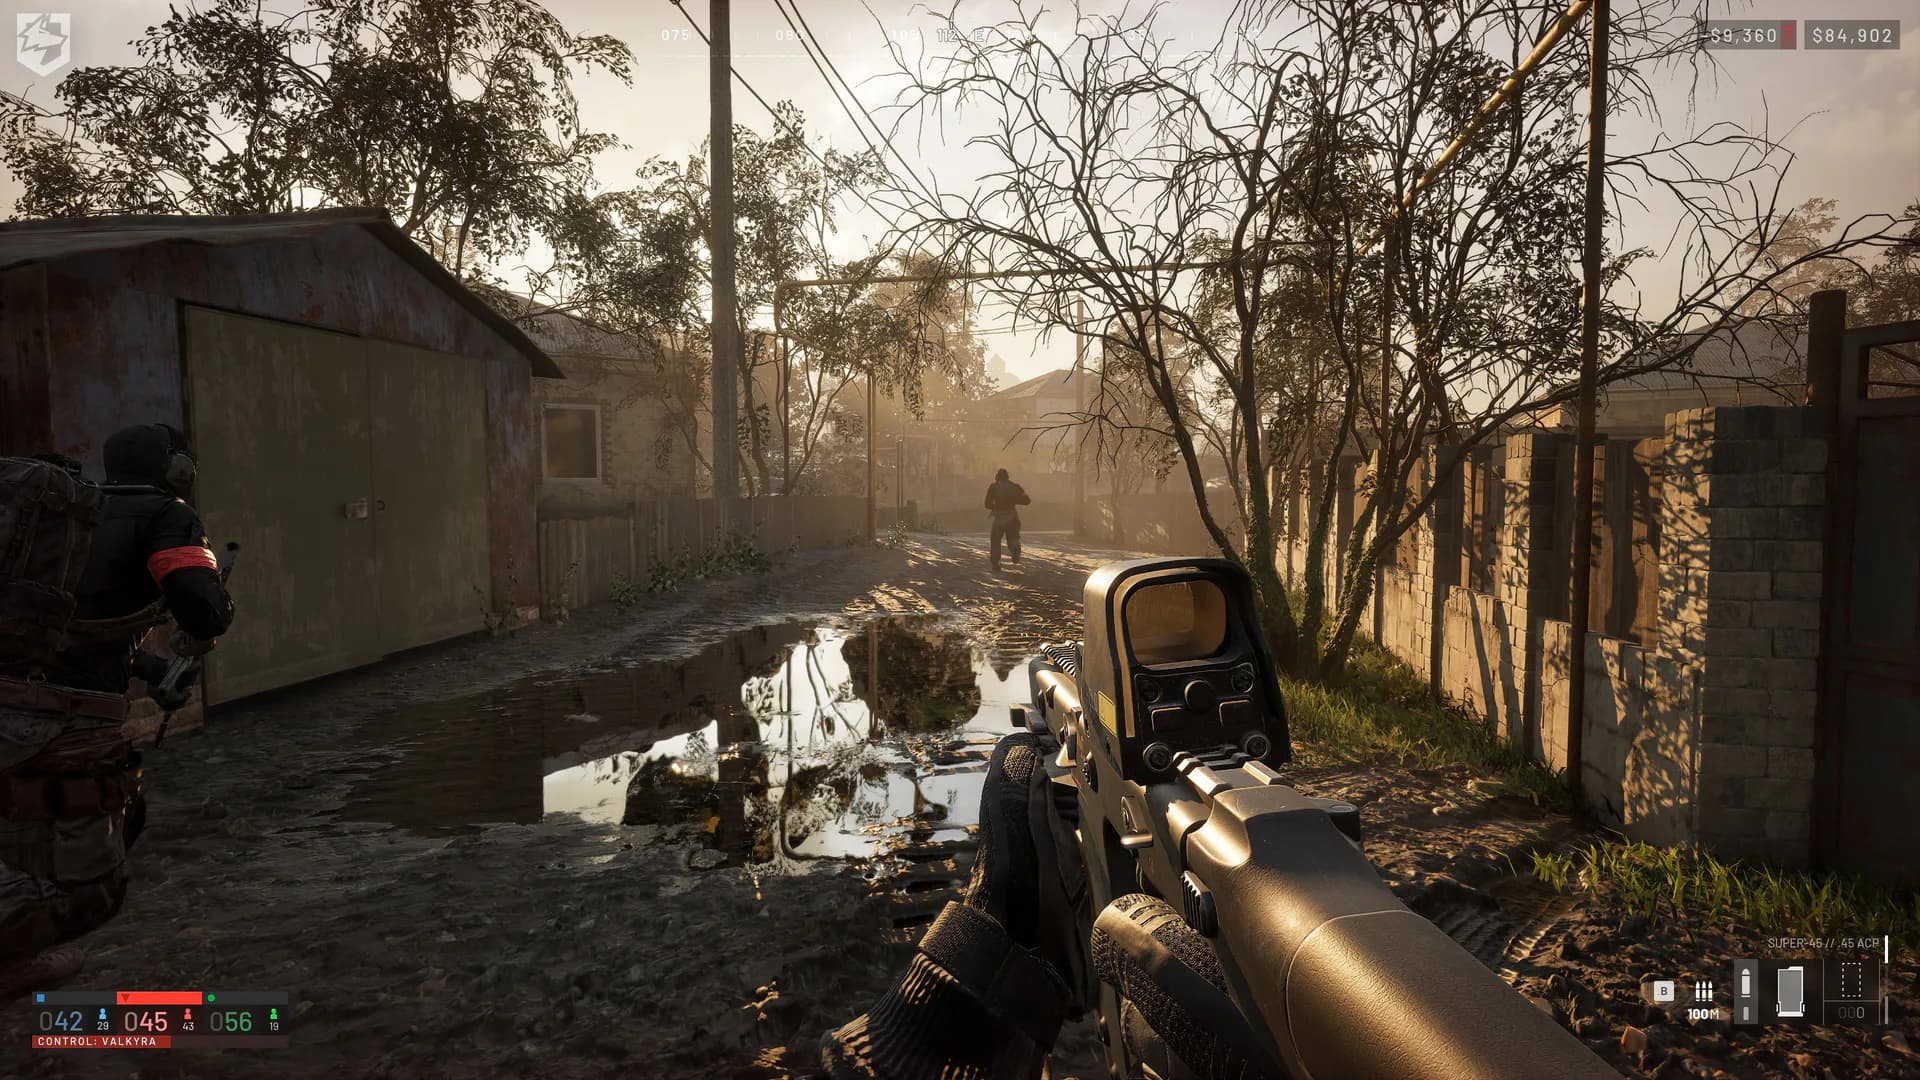 Rifles / urban lanes
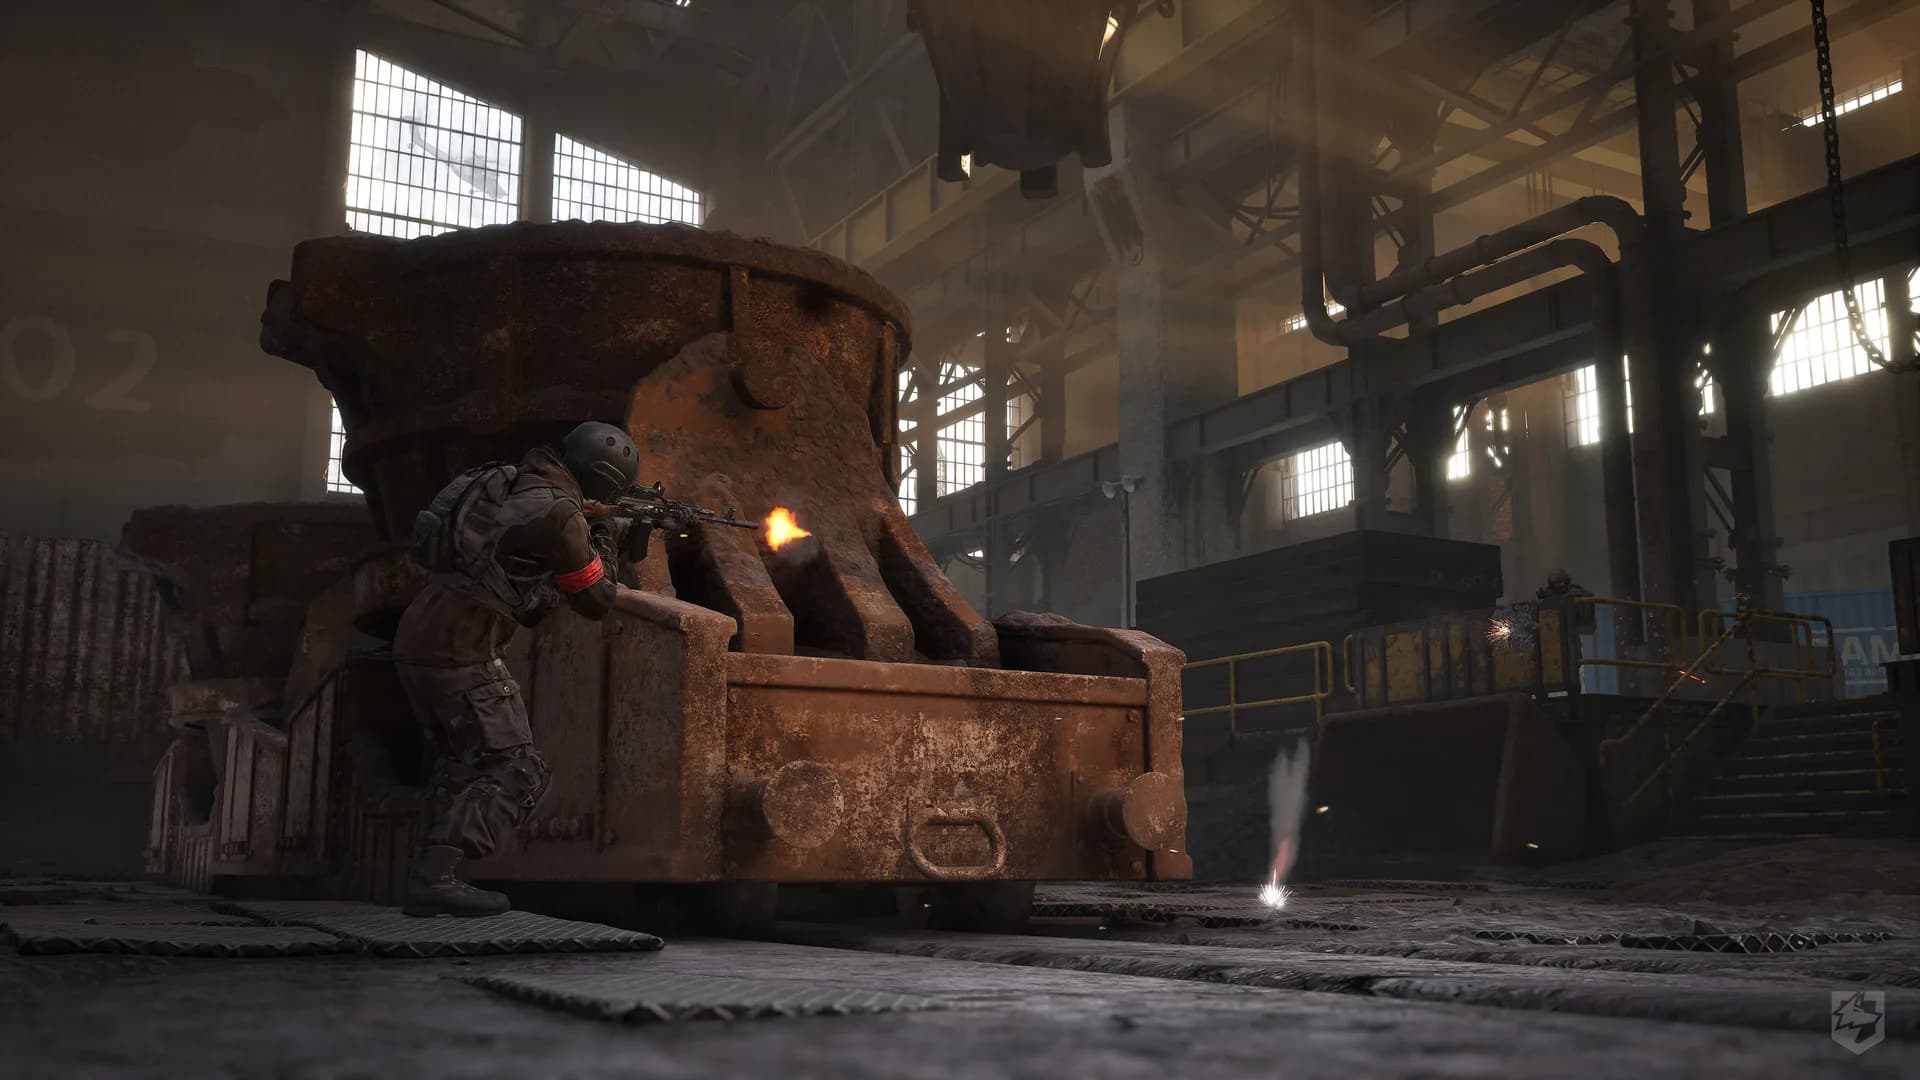 Industrial cover / mixed ranges
06 / ARMOR & HEALTH
Protection rises. Weight and replacement cost rise with it.
The database calls this stat durability, not player health. Armor durability and damage reduction are separate values, and coverage determines which body areas receive that protection.
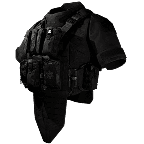
| Armor | Coverage | Reduction | Durability | Weight | Life price |
|---|---|---|---|---|---|
| Level 1 Armor | Torso | 30% | 200 | 3 kg | $400 |
| Level 1 Helmet | Head | 30% | 80 | Not recorded | $200 |
| Level 2 Armor | Torso | 40% | 220 | 4.5 kg | $1,000 |
| Level 2 Helmet | Head | 40% | 100 | 1.6 kg | $500 |
| Level 3 Armor | Torso | 55% | 250 | 10.5 kg | $2,000 |
| Level 3 Helmet | Head + neck | 55% | 180 | 3 kg | $1,500 |
| Level 4 Armor | Torso + pelvis + upper arms | 65% | 300 | 18 kg | $4,000 |
| Level 4 Helmet | Head + neck | 65% | 200 | 4.5 kg | $3,000 |
Level 4 body armor costs ten times as much as Level 1 and weighs six times as much. Buy it because the protection fits the mission, not because the tier number is larger.
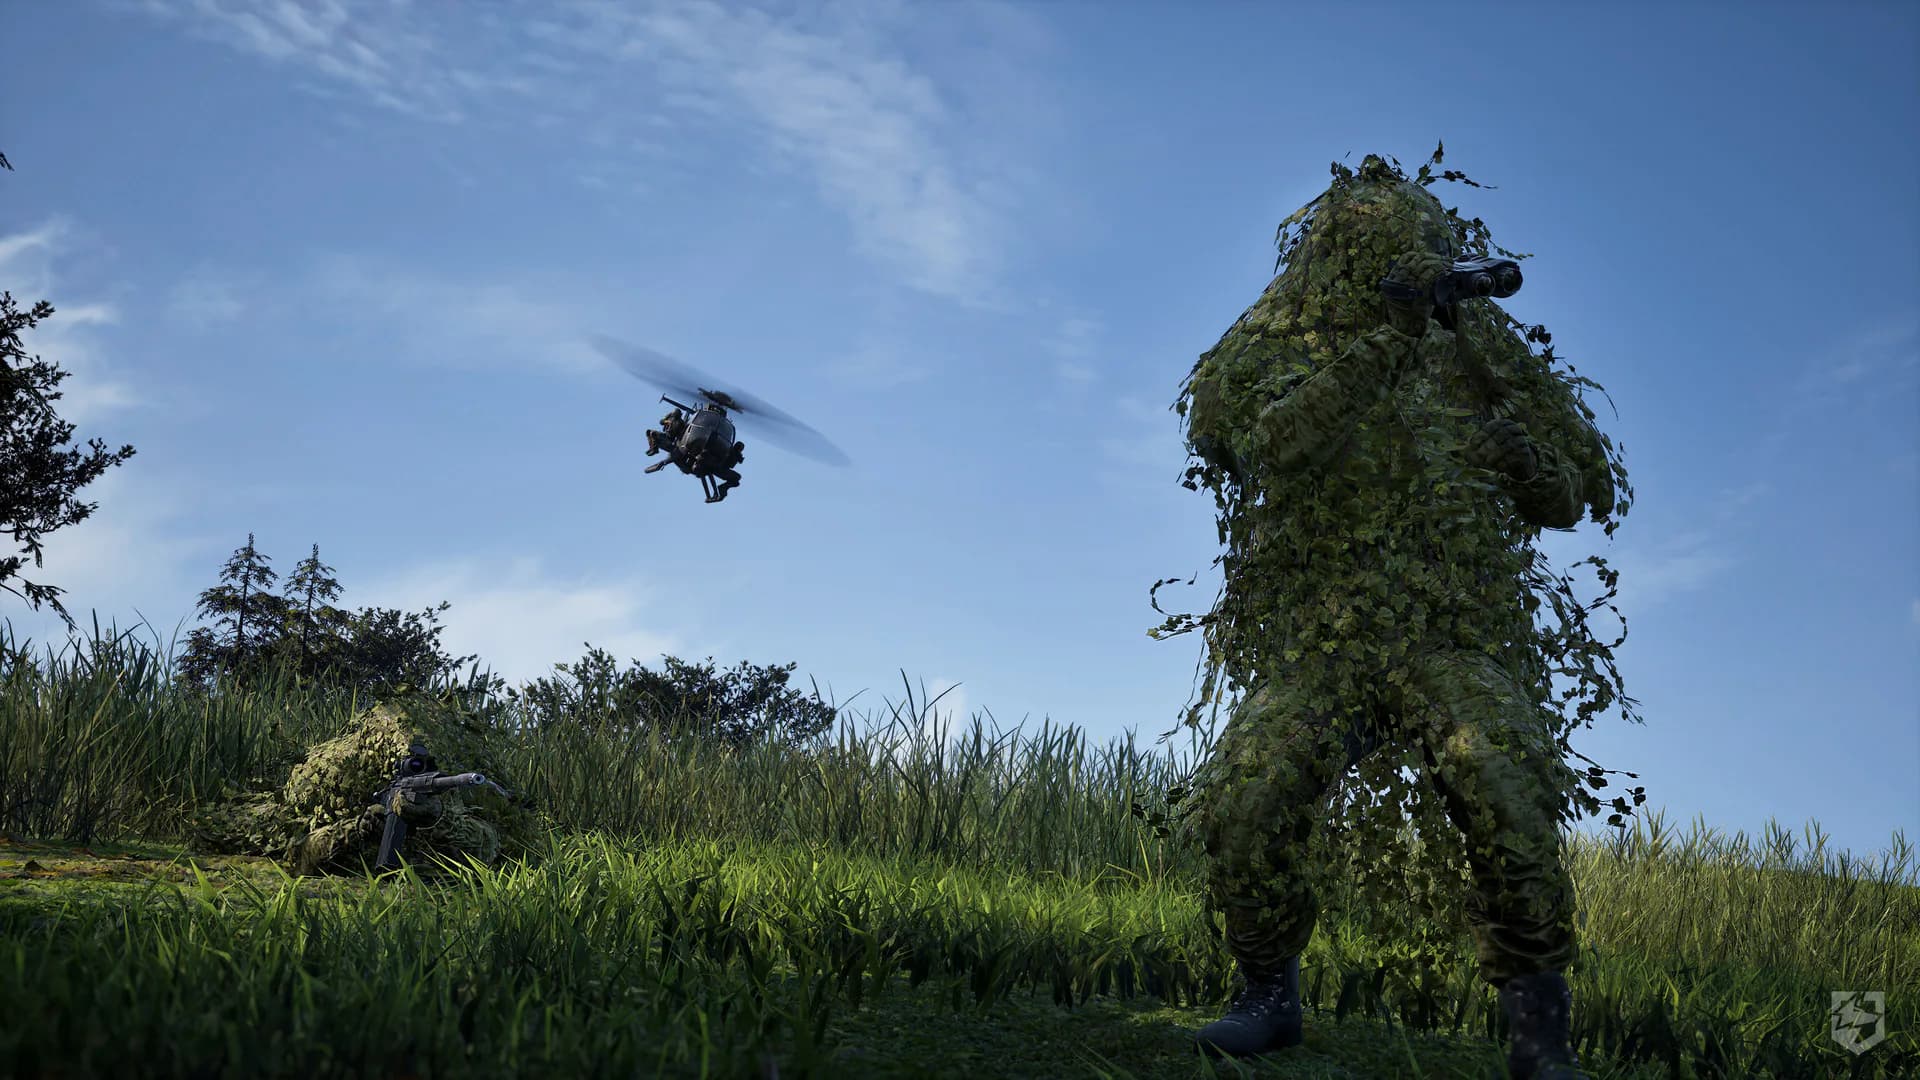
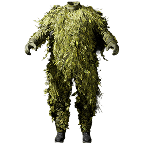
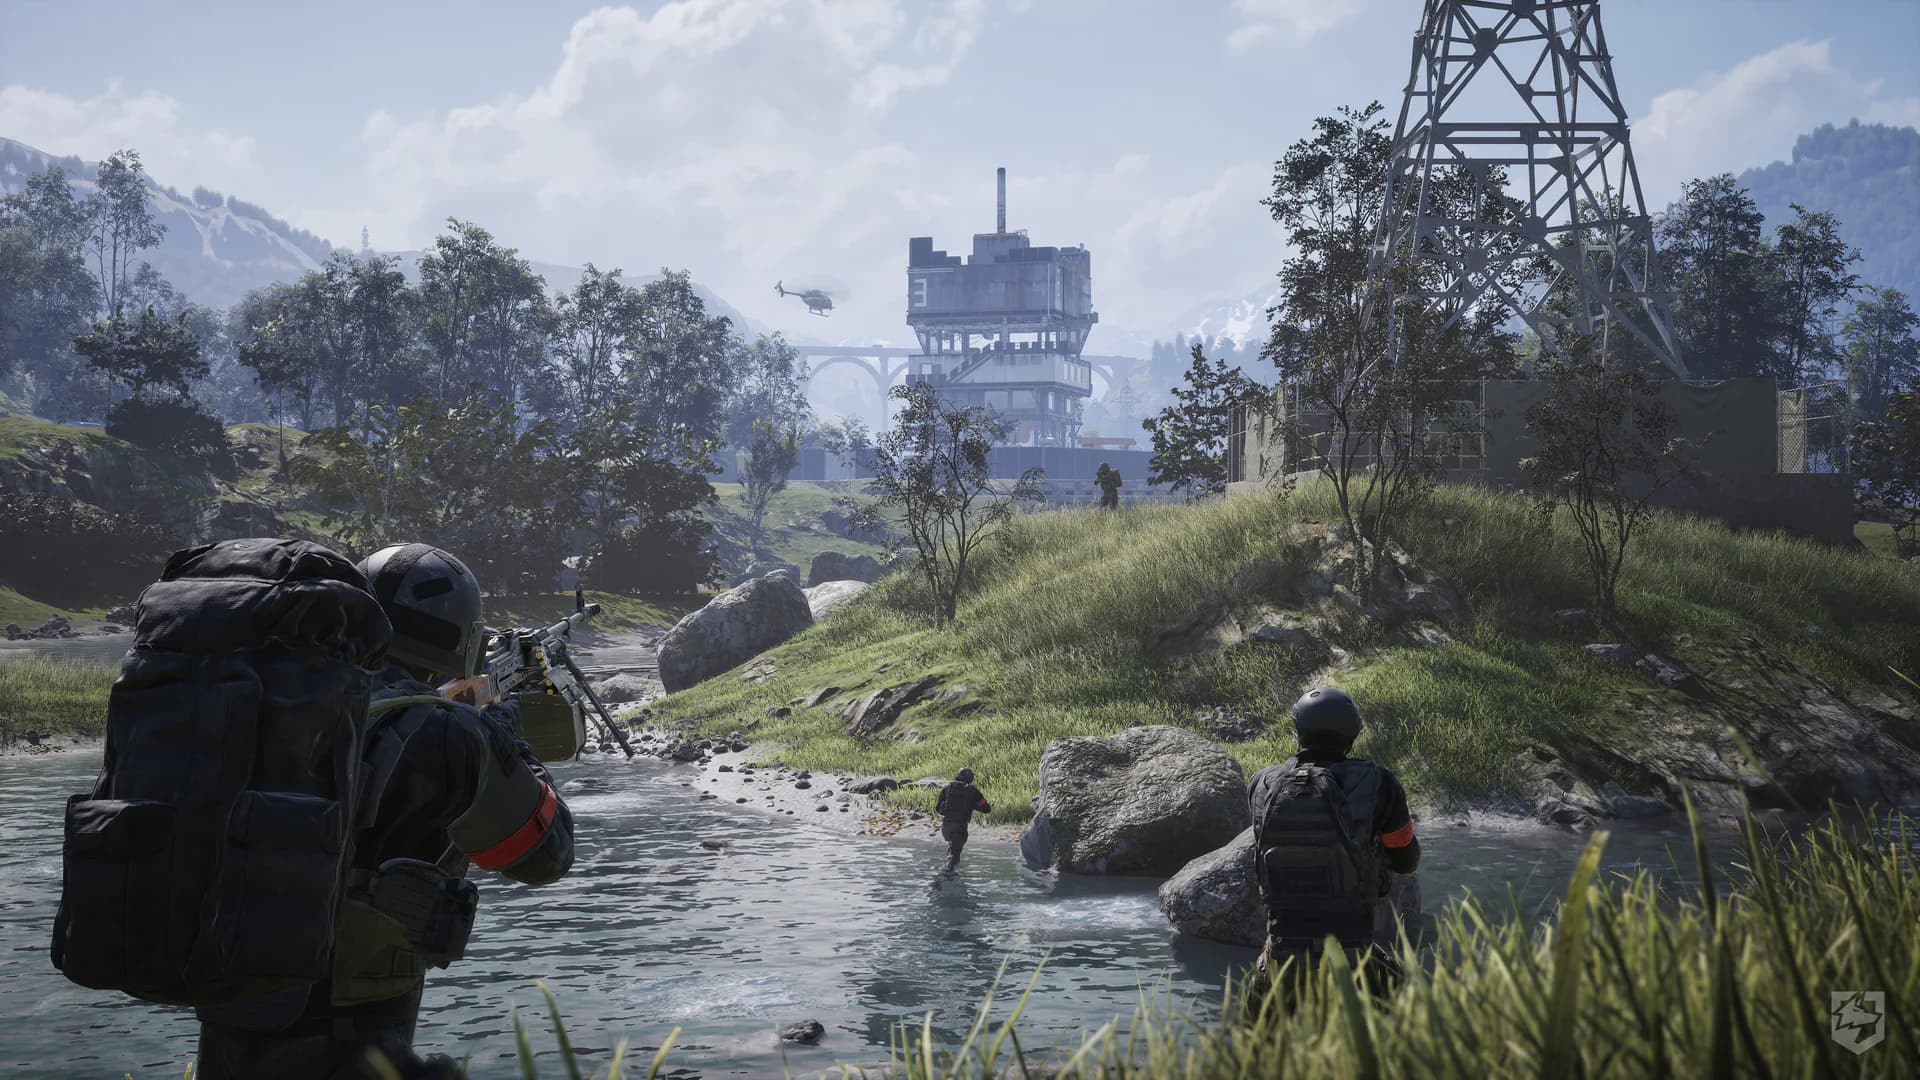
The current database records death-cam removal and concealment from infrared range finders when the matching body suit and headwear are used together. Official press-kit screenshot, BULKHEAD / Team17.
07 / VEHICLE MATRIX
Price the mission, the seats and the hull.
Hull is only one component. Engines, fuel tanks, tracks and rotors can have their own health pools, so a surviving hull does not guarantee a mobile vehicle.
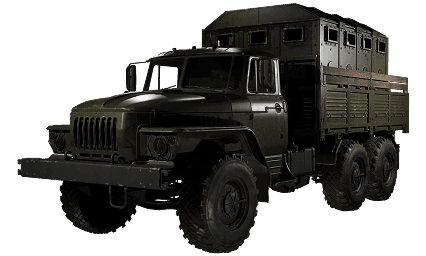
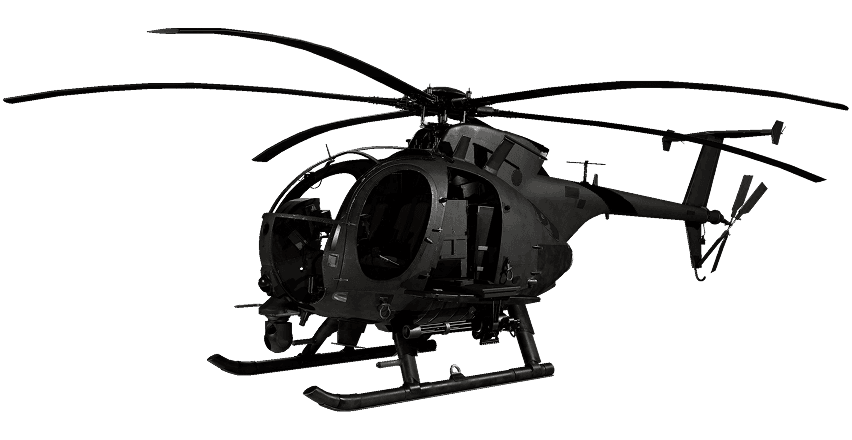
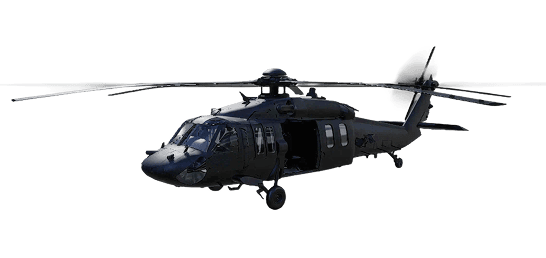
Showing 8 of 20 vehicles.
| Vehicle | Field job | Seats | Top speed | Hull HP | Life price |
|---|---|---|---|---|---|
| Bobcat | Scout / utility | 2 | 75 km/h | 200 | $500 |
| Dune Buggy | Fast transport | 3 | 130 km/h | 400 | $1,500 |
| Kodiak | Fast transport | 4 | 154 km/h | 400 | $2,500 |
| Kodiak Pickup | Squad transport | 6 | 154 km/h | 400 | $3,000 |
| Humvee | Protected transport | 4 | 113 km/h | 500 | $3,000 |
| Kodiak M249 | Armed transport | 5 | 154 km/h | 400 | $3,750 |
| Humvee M249 | Armed transport | 5 | 113 km/h | 500 | $3,750 |
| Humvee Minigun | Armed transport | 5 | 113 km/h | 500 | $4,500 |
Vehicle role labels are Gamer-Z-Paradise navigation shorthand based on seats, armament and listed type. Prices and unlocks reflect Season 1 in the cited database; detailed health and handling figures retain its beta-baseline warning.
 Armor pressure / revive window
 Air route / transport economy
08 / YOUR NEXT DEPLOYMENT
A simple plan for the first ten lives.
- Choose one job.Medic, transport, spotting, logistics, objective infantry or anti-vehicle support.
- Write down the total kit cost.Include ammunition, magazines, protection and consumables.
- Keep three replacement lives in reserve.If the wallet cannot cover them, remove the least essential upgrade.
- Travel with a purpose.Pick up passengers, move supplies or approach a position the team can use.
- Stay available for revives.A living teammate and a preserved kit can be worth more than a rushed trade.
- Measure profit after the match.Compare starting and ending cash, then keep the role that reliably pays for itself.
BULKHEAD says balance, economy, progression and features will continue changing. Recheck the in-game vendor and current patch notes before spending on a permanent unlock or copying a loadout price from this guide.
FOLLOW THE EVIDENCE